 Login

Tube Amplifiers vs. Solid State: A Comparative Analysis
The debate between tube amplifiers (often called "valve" amplifiers) and solid-state designs has raged in the audio world for decades. Both technologies have devout adherents, each side defending their preferred choice's virtues. But what makes these two distinct, and is one genuinely superior to the other? This comprehensive comparative analysis aims to clarify the hotly contested subject of Tube Amplifiers vs Solid State Amplifiers: which is best?

A Brief Historical Perspective
Before diving deep into the nuances, it's vital to understand how each technology emerged and evolved.
Tube Amplifiers:
Tubes, or thermionic valves, were the forerunners in the amplification world. Dating back to the early 20th century, they were used in various applications, from radios to televisions, long before making their mark in audio amplification. The iconic glowing tubes seen in vintage audio setups aren't just for show—they represent a rich legacy of audio engineering.
Solid-State Amplifiers:
With the invention of the transistor in the 1950s, the audio world saw a revolutionary shift. Transistors, being smaller, cheaper, and more durable, allowed for the birth of solid-state amplifiers. These devices quickly gained popularity in the 1960s and 70s, paving the way for the modern audio systems we're familiar with today.
The Core Differences
Operational Principle:
Tube Amplifiers:
At their core, tubes allow the flow of current between a cathode and an anode in a vacuum. As the current flows, it amplifies the sound signal, giving it the unique warmth many audiophiles yearn for.
Solid-State Amplifiers:
These devices rely on semiconductors (transistors) to amplify the sound. Transistors can switch and amplify electronic signals, providing a more linear and precise amplification.
Efficiency and Heat:
Tube Amplifiers:
Tubes tend to run hot. They need time to "warm up" and can be less energy efficient than their solid-state counterparts. This characteristic glow, while mesmerizing, also means they have a limited lifespan and will eventually need replacement.
Solid-State Amplifiers:
Transistors run cooler and are generally more energy-efficient. No "warm-up" time is required, and they're ready to deliver peak performance at a moment's notice.
Durability and Maintenance:
Tube Amplifiers:
Tubes, by nature, have a limited lifespan. They degrade over time and eventually burn out, requiring replacements. Moreover, tube amplifiers often require periodic bias adjustments and maintenance to ensure optimal performance.
Solid-State Amplifiers:
Solid-state amplifiers are more robust and long-lasting, with fewer moving parts and no elements that degrade as dramatically as tubes. Maintenance is often minimal, with many units running flawlessly for decades.
Sound Signature: An Auditory Exploration

As we venture further into the soundscape, the sonic distinctions between tube and solid-state amplifiers become clearer. But remember, the differences are not just about quality—often, it’s more about character.
Warmth vs. Clarity:
Tube Amplifiers:
One of the defining traits of tube amplification is its inherent warmth. Tubes tend to produce harmonic distortions, particularly second-order harmonics, which many listeners find pleasing. This can imbue music with a richer, fuller character, especially when listening to analog sources like vinyl records.
Solid-State Amplifiers:
In contrast, solid-state devices offer a cleaner and more accurate representation of the input signal. This clarity means the amplifier adds little to no coloration to the sound, allowing the other audio system components to shine. Solid-state often becomes the choice for those seeking a transparent and analytical sound.
Dynamic Response:
Tube Amplifiers:
The way tubes handle dynamics can be described as "organic" or "natural." Even when pushed to their limits, tubes tend to clip softly, resulting in a smoother distortion that’s less jarring to the ears.
Solid-State Amplifiers:
Solid-states are known for tight control, particularly in the bass region. Their precise dynamic response means they can efficiently handle complex passages and rapid transitions. However, they might clip sharply when overdriven, producing a more noticeable and less pleasant distortion.
Soundstage and Imaging:
Tube Amplifiers:
The enveloping warmth of tubes often contributes to a broader, more spacious soundstage. This expansive presentation can make listeners feel like they’re in a larger room or concert hall, adding a layer of immersion to the listening experience.
Solid-State Amplifiers:
The pinpoint accuracy of solid-state amps can produce precise imaging. This means that each instrument and vocal can be distinctly located in space, creating a 3D-like experience for listeners.
Practical Considerations Beyond Sound
While the auditory experience is paramount for audiophiles, practical aspects also play a significant role when choosing between tube and solid-state amplifiers.
Cost:
Tube Amplifiers:
Generally speaking, tube amps, especially high-quality ones, come at a premium. The tubes themselves are a recurring cost, as they need periodic replacement. Additionally, the associated maintenance can add to the overall expenditure.
Solid-State Amplifiers:
These amplifiers, given their simpler construction and the widespread availability of transistors, tend to be more affordable, especially at the entry-level. High-end solid-state amps can still command a hefty price but without the recurring costs of tubes.
Size and Portability:
Tube Amplifiers:
Tubes make these amplifiers bulkier. They're generally heavier and take up more space, making them less ideal for compact setups or frequent relocation.
Solid-State Amplifiers:
With their compact electronics and absence of bulky tubes, solid-state amps are often smaller, lighter, and more portable.
Considerations: Versatility & Integration

As we dive further into amplifiers, it’s essential to understand how they interact with other components in your audio setup and the versatility each brings to the table.
Compatibility with Speakers:
Tube Amplifiers: They often have a high output impedance, affecting their interaction with speakers. This means that the choice of speakers for a tube amp requires careful consideration. Certain sensitive speakers designed for tube amplification can help bring out the best in this kind of setup.
Solid-State Amplifiers: With a lower output impedance, they’re generally more forgiving and compatible with a broader range of speakers. Whether you have floor standers or bookshelf speakers, a solid-state amp will likely drive them efficiently.
Input and Source Flexibility:
Tube Amplifiers: Many tube amps, especially vintage ones, might have limited input options. They might be tailored more towards traditional sources like turntables but lack modern digital inputs.
Solid-State Amplifiers: Typically equipped with various inputs, from analog RCA to modern digital interfaces like USB and HDMI, solid-state amps are ready to handle multiple sources, from CD players to modern DACs.
Aesthetic and Emotional Resonance
Beyond the technicalities and practicalities, the choice between tube and solid-state amplifiers can often be emotional. The visual and tactile experience and the sound's perceived warmth or accuracy can evoke strong feelings in an audiophile.
Visual Appeal and Nostalgia:
 Buy on Amazon
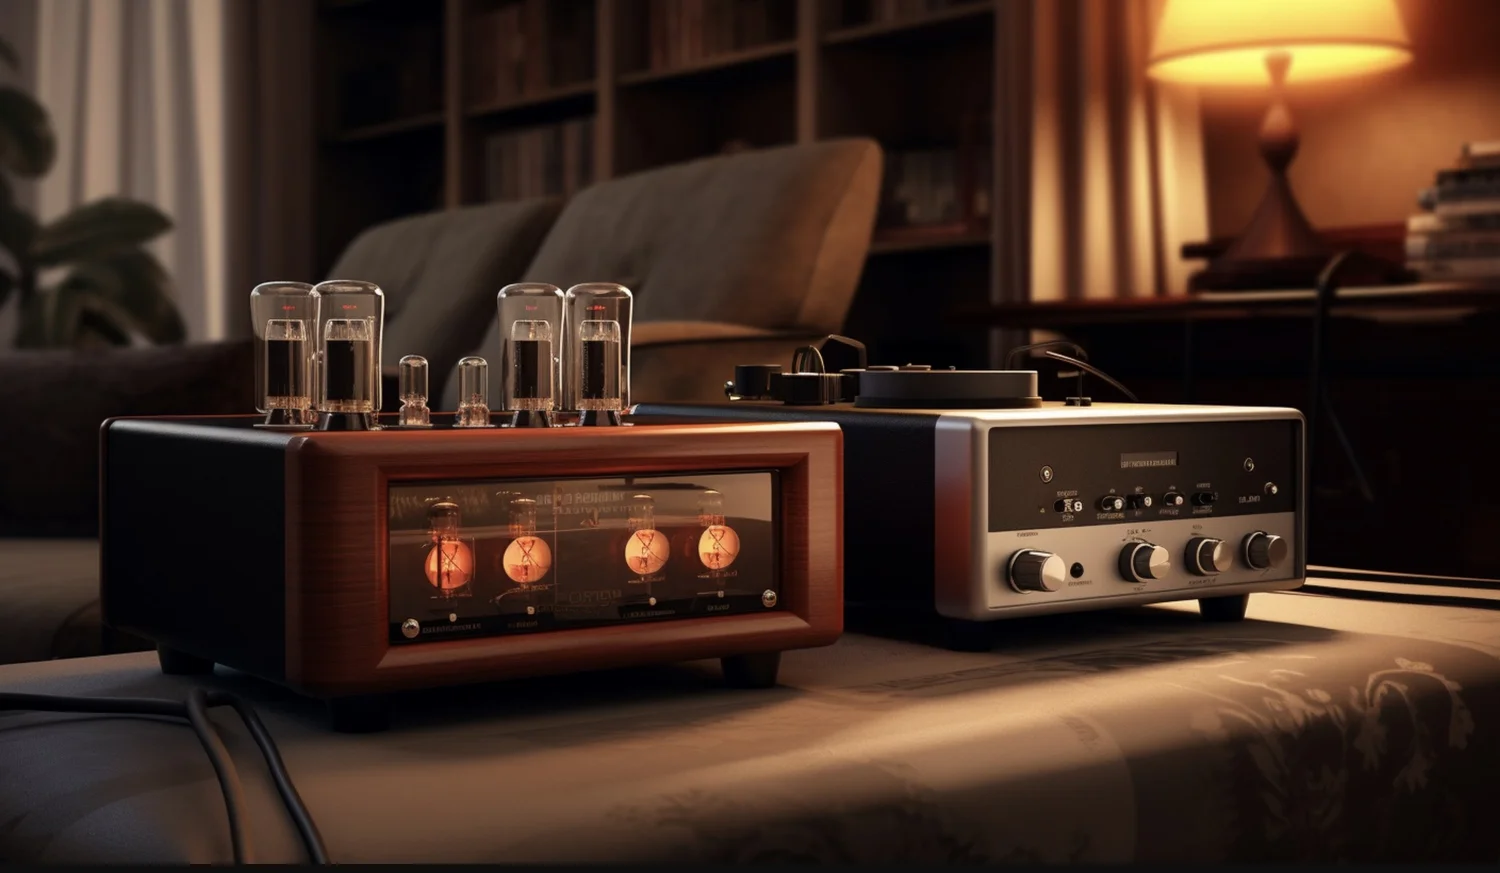
Tube Amplifiers: There's an undeniable charm in watching tubes glow in a dimly lit room. This visual appeal, combined with the vintage aura many tube amps carry, offers a sense of nostalgia and connection to a bygone era of audio engineering.
Solid-State Amplifiers: While they might lack the glow of tubes, many modern solid-state amps boast sleek designs, minimalist aesthetics, and touch interfaces. They represent the cutting edge of audio technology.
Emotional Connection to Sound:
Tube Amplifiers: The warmth and harmonic distortion inherent in tube amplification can make the music feel more "alive" or "soulful" to some listeners. This emotional connection, where the music seems to breathe and resonate, is a significant reason why many audiophiles swear by tubes.
Solid-State Amplifiers: The accuracy and clarity of solid-state devices offer an uncolored window into the music. For those who value precision and wish to hear a track as the artist intended, solid-state becomes the pathway to a genuine connection with the music without any added coloration.
The Middle Ground: Hybrid Amplifiers
As the debate continues, some manufacturers have sought a middle ground by creating hybrid amplifiers. These devices combine the best of both worlds, aiming to capture the warmth of tubes and the accuracy of solid-state designs.
Design Philosophy: Hybrid amplifiers often use tubes in the preamp stage to introduce the desired warmth and coloration. The subsequent power amplification, which requires more efficiency and control, is handled by solid-state components.
Benefits: Hybrid designs can offer the signature tube warmth without the inefficiencies of an all-tube power section. They're also typically more affordable than high-end tube amplifiers and require less maintenance.
The Future: Advancements in Amplification
In the ever-evolving world of audio, both tube and solid-state amplifiers have undergone significant refinements, with researchers and engineers constantly pushing the envelope.
Solid-State Progressions:
 Buy on Amazon
Class D Amplifiers:
This newer category of solid-state amplification offers exceptional efficiency. While early Class D designs faced criticism for perceived losses in audio fidelity, modern iterations have dramatically improved, rivaling traditional Class A and Class AB designs in sound quality.
GaN (Gallium Nitride) Transistors:
Representing the cutting edge in transistor technology, GaN transistors promise higher efficiency, better thermal performance, and potential improvements in sound clarity over traditional silicon-based transistors.
Modern Tube Innovations:
New Tube Designs:
Recent years have seen a resurgence in interest in tube technology. New tube designs, like the Nutube, are compact and efficient, promising to deliver the classic tube sound without some traditional drawbacks.
Digital Control:
Modern tube amplifiers are often combined with digital controls to ensure optimal biasing, automatic fault detection, and even user-adjustable harmonics. These additions make tube amps more user-friendly and adaptable.
Expert Recommendations: Bridging the Divide
 Buy on Amazon
For audiophiles taking their first steps or seasoned veterans looking for a change, here's a concise guide:
Beginners: A solid-state amplifier is often the best starting point. They are typically more affordable, robust, and easier to maintain. They also pair well with a wide variety of speakers and sources.
Intermediate Listeners: If you've been in the audio world for a while and are curious about tubes, consider starting with a hybrid amplifier. This way, you get a taste of the tube sound without diving headfirst into the intricacies of tube maintenance.
Advanced Audiophiles: If you're looking for the ultimate listening experience and are ready to invest both time and money, a high-end tube amplifier might be your calling. However, always ensure your chosen amp pairs well with your existing (or planned) speakers and sources.
Tech Enthusiasts: If you're excited about the latest advancements in audio technology, keep an eye on GaN-based solid-state amplifiers and the newer compact tube designs. The fusion of traditional audio warmth with modern technology is bound to provide a unique experience.
Conclusion
The debate between tube and solid-state amplifiers isn't about determining an absolute winner. It's about understanding nuances, respecting preferences, and embracing the rich tapestry of experiences the audio world offers.
Whether you're swayed by the warmth and nostalgia of tubes or the clarity and precision of solid-state, remember that the best amplifier is the one that brings you closer to the music you love. With continued advancements in technology and design, audiophiles have a bright future, full of promising auditory adventures.